Outbound E-Mail using Google OAUTH
Configuring Google OAUTH for Outbound E-Mail
This document will walk you through configuring Google (Workspace) so that you may use OAUTH to send E-Mail from ConnectPath (versus Basic Authentication).
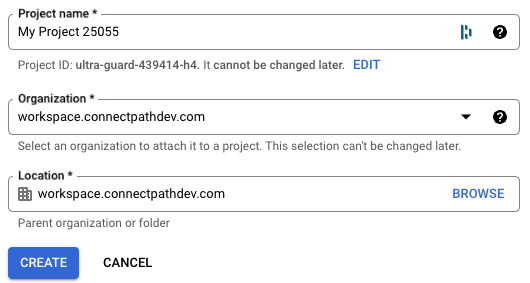
[Create a Project]
Browse to https://console.cloud.google.com/projectcreate
[Enable Gmail API]
Browse to https://console.cloud.google.com/marketplace/product/google/gmail.googleapis.com
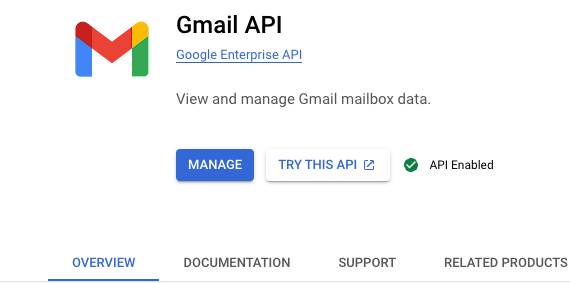
(screenshot may vary)
If the page shows manage, permissions have already been granted for use of the Gmail API, otherwise, grant permissions for use of the Gmail API.
[Create OAuth consent screen]
Browse to https://console.cloud.google.com/apis/credentials/consent
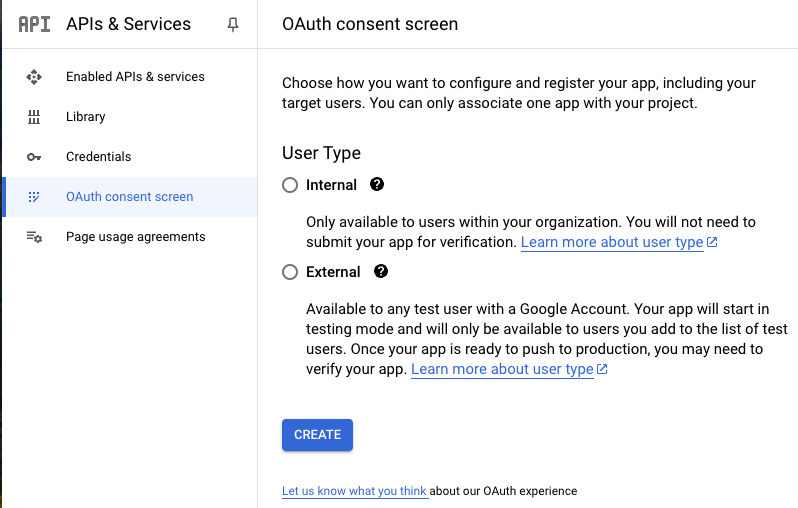
Select Internal
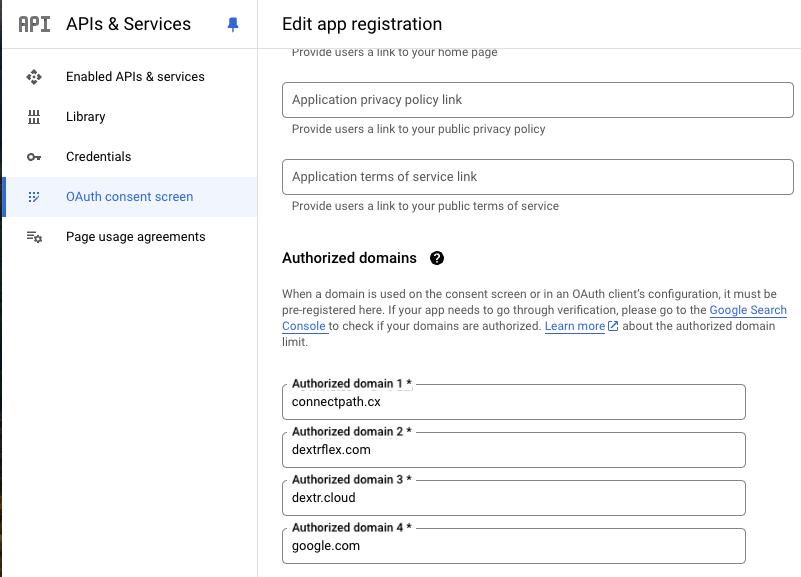
You may specify any name, user support email, and developer contact information, but you must specify the following authorized domains:
[Create Credentials]
Browse to https://console.cloud.google.com/apis/credentials
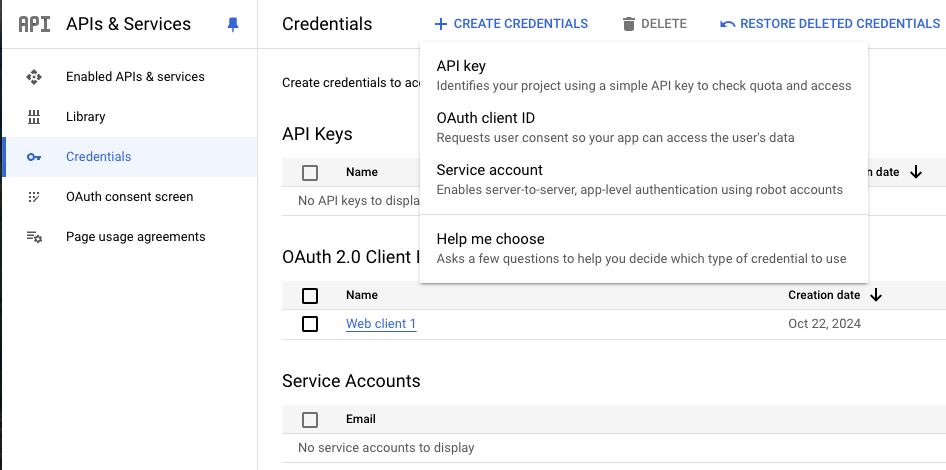
Select OAuth Client ID
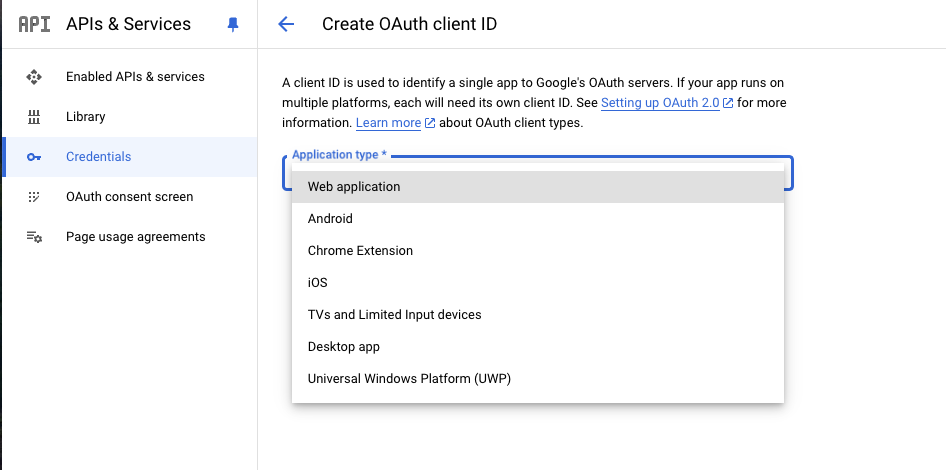
Select application type Web application
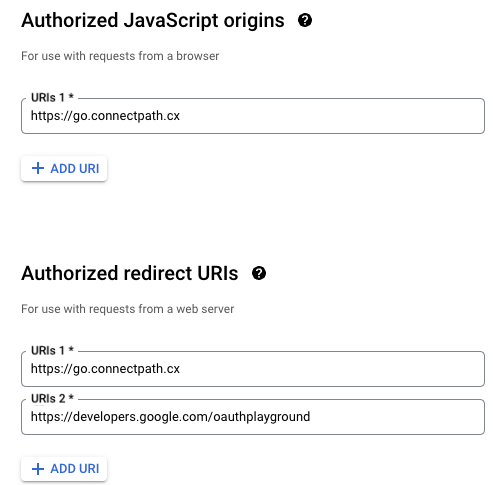
Specify origins and URIs and click Save
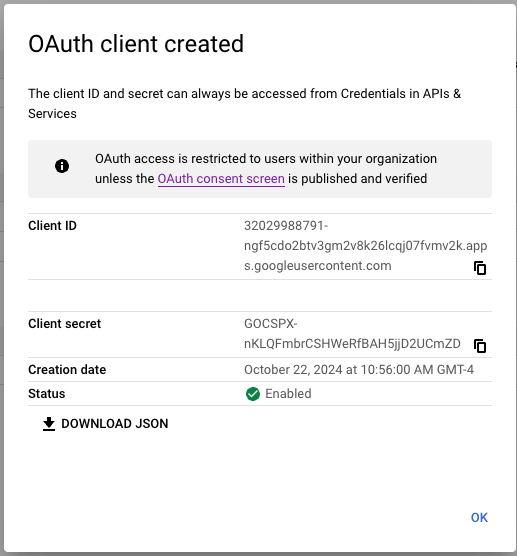
Note the Client ID and Client secret above
[Create Refresh Token]
Browse to https://developers.google.com/oauthplayground
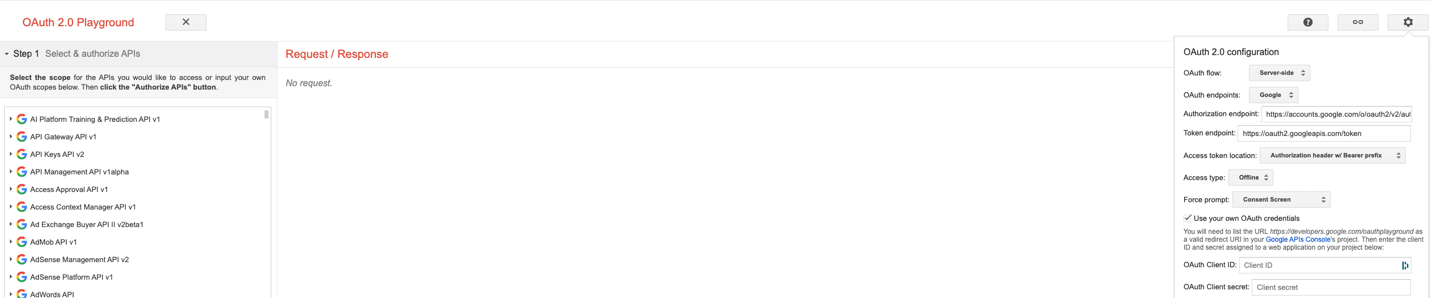
Click the gear on the top right, click the checkbox “use your own OAuth credentials”, enter the Client ID and Client Secret noted in previous step and then click close.
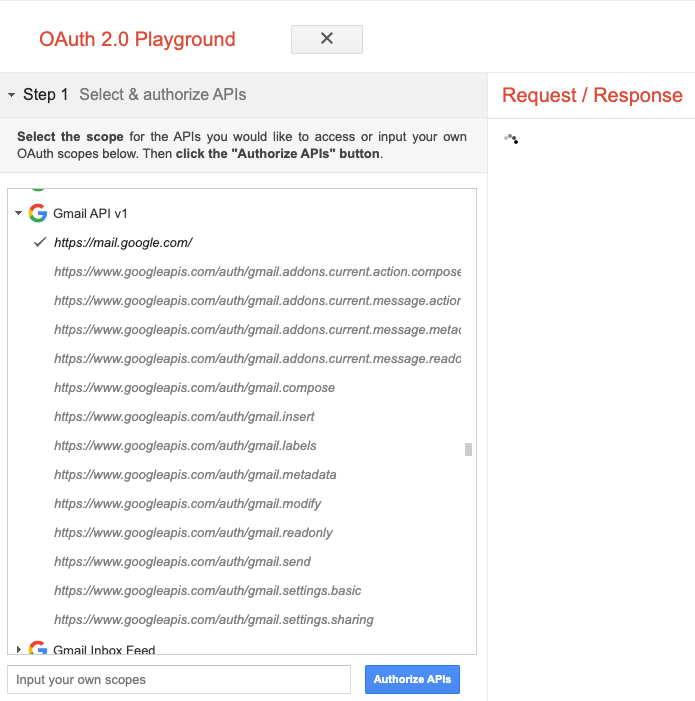
Expand Gmail API v1 and then select https://mail.google.com and click Authorize APIs
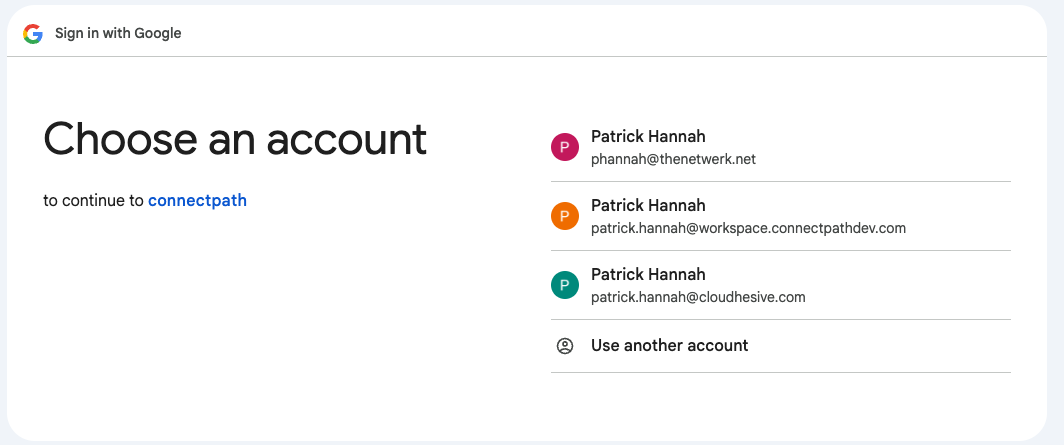
Select the Workspace account you wish to use.
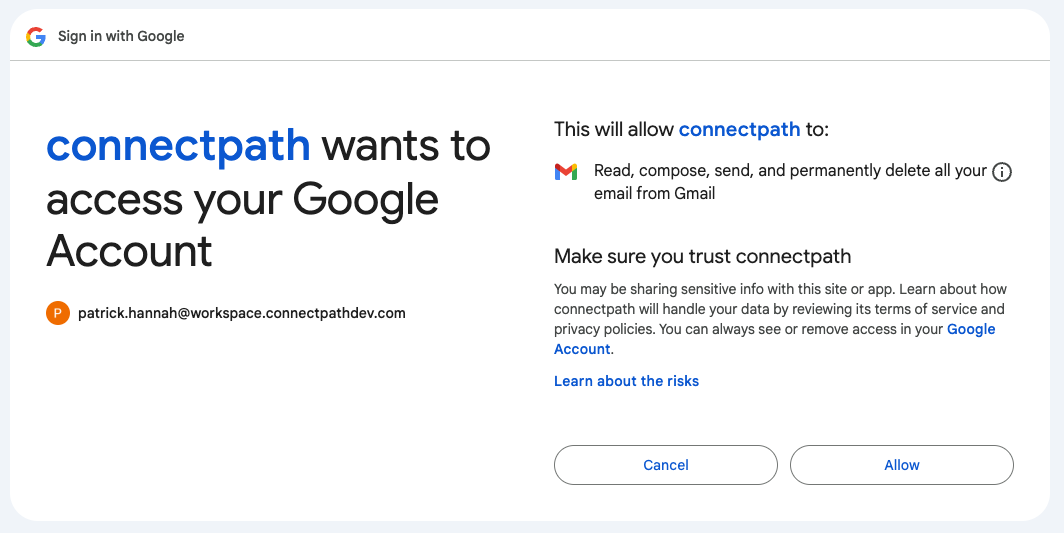
Click Allow
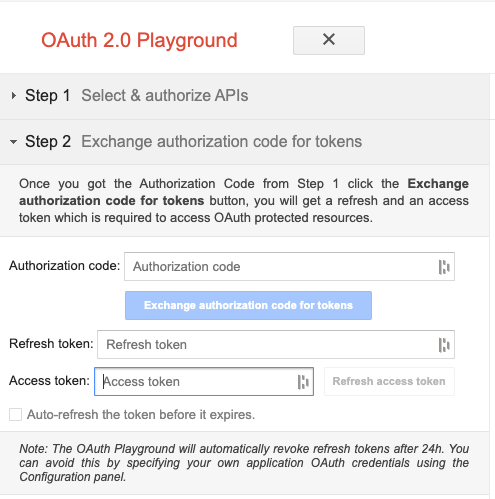
Click Exchange authorization code for tokens
Click refresh access token
Go back to Step 2
Copy the Refresh token
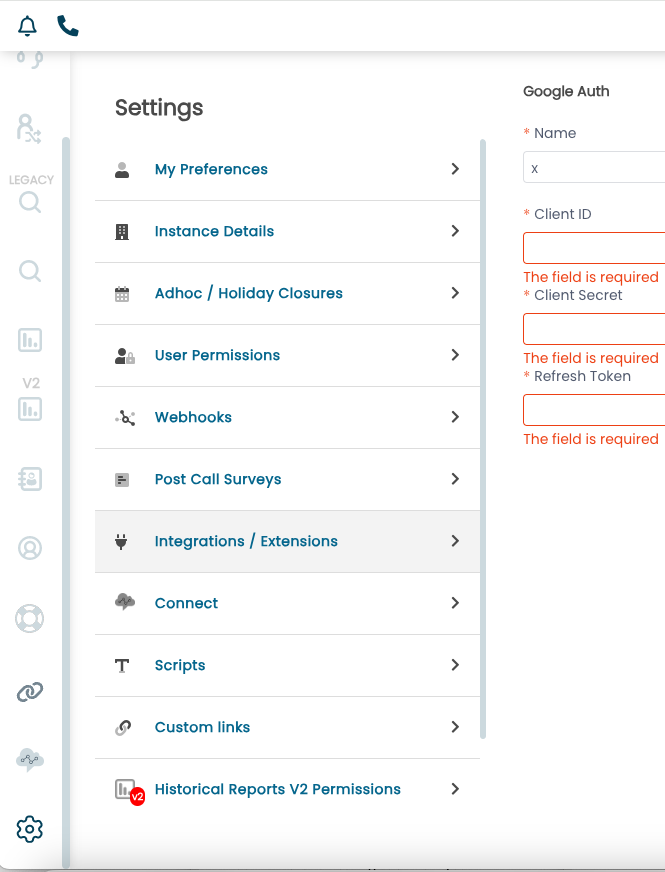
Go to ConnectPath > Settings > Integrations and click Google OAuth 2
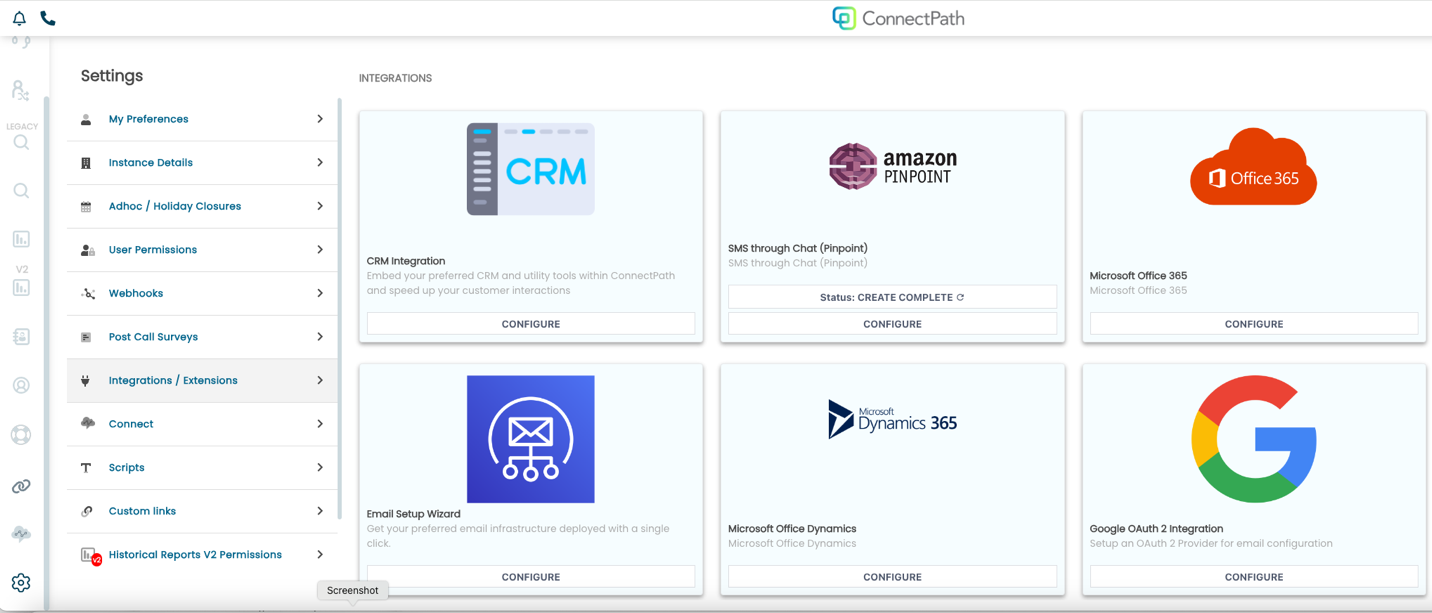
Enter the Client ID, Client Secret and Refresh Token noted on the previous screens and click Save (or Update)
You may now create (or update) the Webhook to use Google Suite OAuth for sending E-Mail from ConnectPath
This completes the steps required to configure Google (Workspace) so that you may use OAUTH to send E-Mail from ConnectPath (versus Basic Authentication).