Historical Reports V2
Historical Reports V2
ConnectPath now supports a new version of Historical Reports. This version represents a significant change in how historical data is ingested and made available (stored) for reporting within ConnectPath. Data storage continues to remain within the same AWS Account and Region as your Amazon Connect Instance.
To facilitate the setup of this new feature, two new Integrations have been provided, “Datalake Powered by Amazon Athena” and “Historical Reports V2” Powered by Amazon”.
The first is responsible for creating the ingestion services (Kinesis), storage services (S3) and retrieval services (Athena), along with the views within Athena that will take the raw data and format it for use in the reports. The later provides full transparency and customizability to privileged users to understand the formulas/calculations used in the reports as well as create their own sources of data and corresponding reports based on that data.
The second integration card is responsible for deploying an embedded version of Quicksight, which is responsible for taking the output of Athena and displaying it to users within ConnectPath. Note that this requires an Enterprise+Q Plan with Quicksight. Much like the flexibility offered by Athena, privileged users have full control over the data sources, calculations, data elements and visual presentation of said information within ConnectPath.
Initially we are supporting Amazon Connect CTR and Agent Event Data sources and are providing 3 Dashboards (Reports) based on this information, but we will be able to make available, by request and proactively, updates to these integrations in which additional data sources and Dashboards are available.
Similarly, most of the setup is a one-time activity and is automated, though there are some manual steps which are described below.
The structure of the data is designed to provide consistency as data grows within the data lake by use of Partitions (which are updated daily) and data is cached within Quicksight using SPICE, which is refreshed hourly. Existing Dashboards can be customized within Quicksight, or even new dashboards can be created within Quicksight and permissioned to ConnectPath.
Note that there are two implications to deleting this integration. The first is that the baseline Kinesis streams need reconnected to the Amazon Connect Instance. When this integration is deployed, the deployment handles updating the Amazon Connect Instance with the new Kinesis streams, but the same is not true for deletion of the integration. The second consideration is that the S3 bucket, which forms the basis of the data lake is not force deleted if there is data present. This is intended to retain the data in the event the integration is reenabled.
This new feature is being made available as an open preview to all privileged users of ConnectPath, with the intent to solicit feedback on how the setup process and the resultant reports can be positioned to best benefit our customers. Future releases (which can be performed out of band of our typical application release cycle) will include additional data sources and dashboards.
The prior version of Historical Reports will still be available, and in the longer term it will be disabled for new instances as a default, with the option for existing instances to disable them as well. As part of this a migration path will be provided.
This document is divided into initial setup steps and usage of the primary functions of the feature.
Feature Setup
To setup the feature, go to Settings > Integrations:
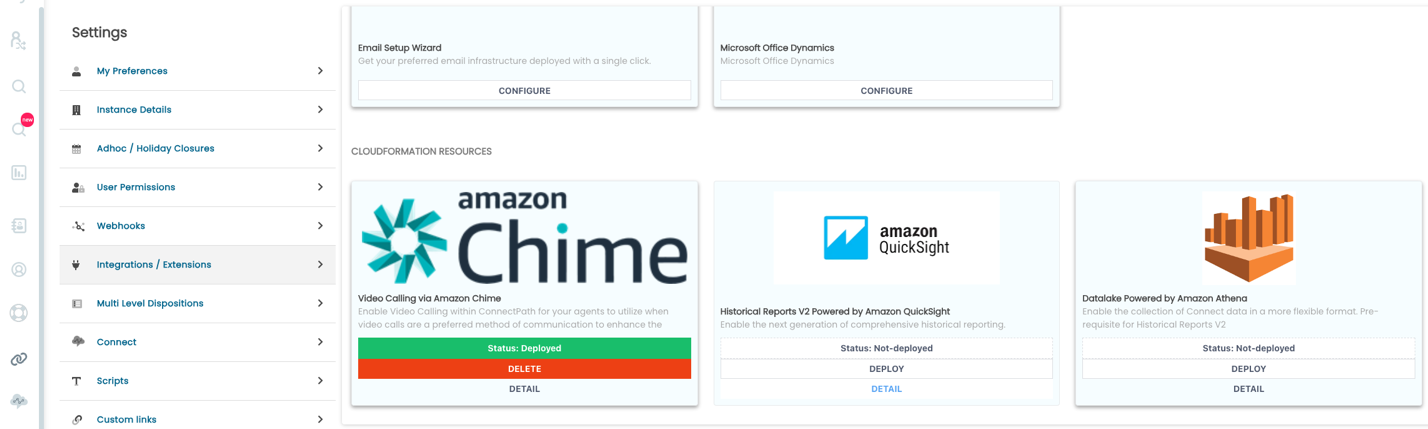
Under the Datalake Powered by Amazon Athena Card, click Deploy. The status will change to Deploying:
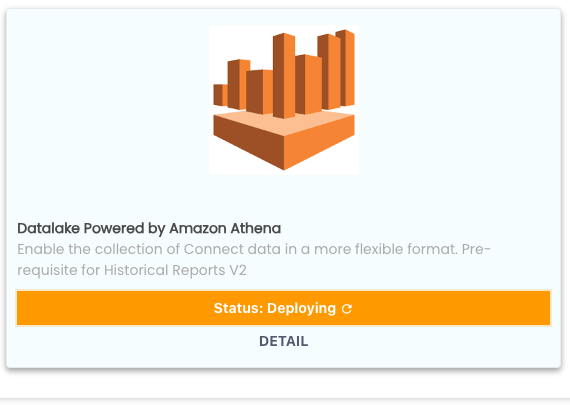
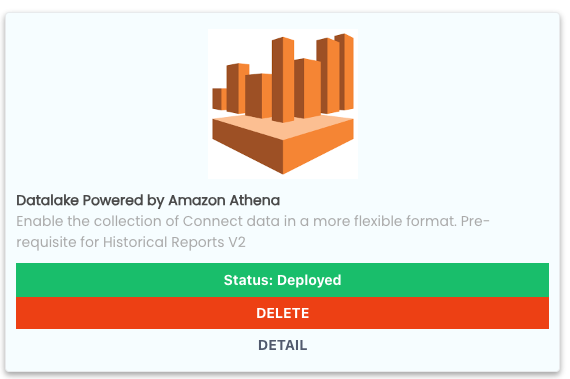
This process will take approximately 10 minutes and once complete it will a status of Deployed:
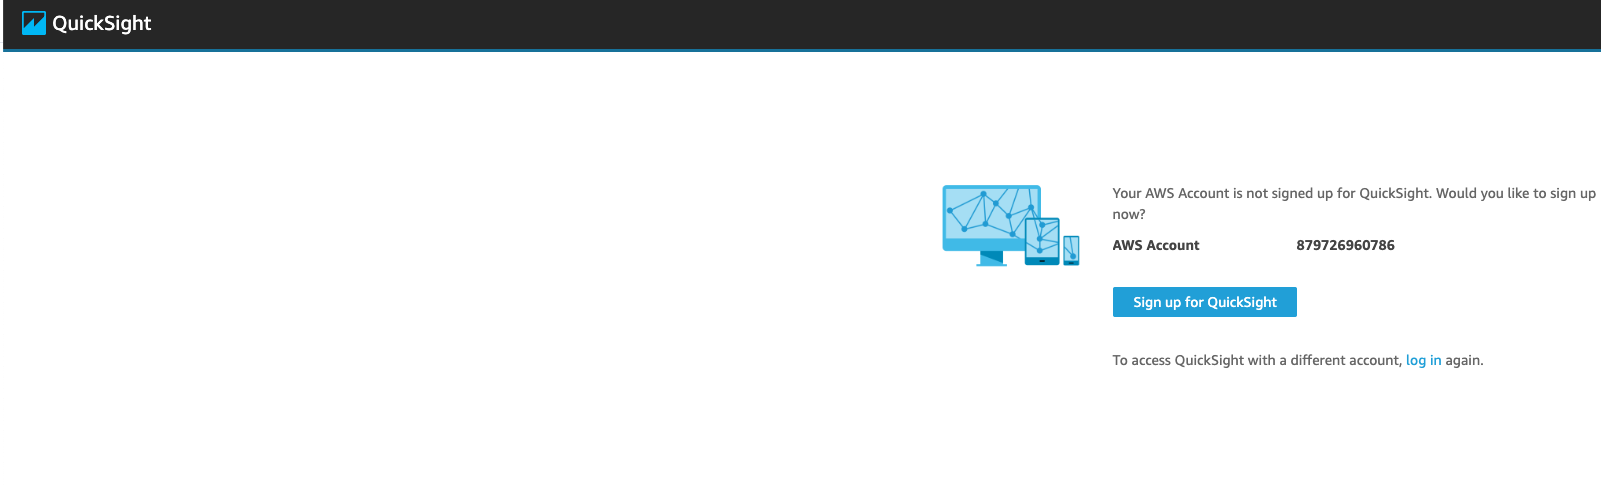
While in the AWS Console, you will also need to setup the pre-requisites for Quicksight, which can be done by going to https://quicksight.aws.amazon.com/ and completing the following steps.
When you go to the QuickSight console, you will be prompted to Sign up for QuickSight, which you may do so by clicking the button labeled as such:
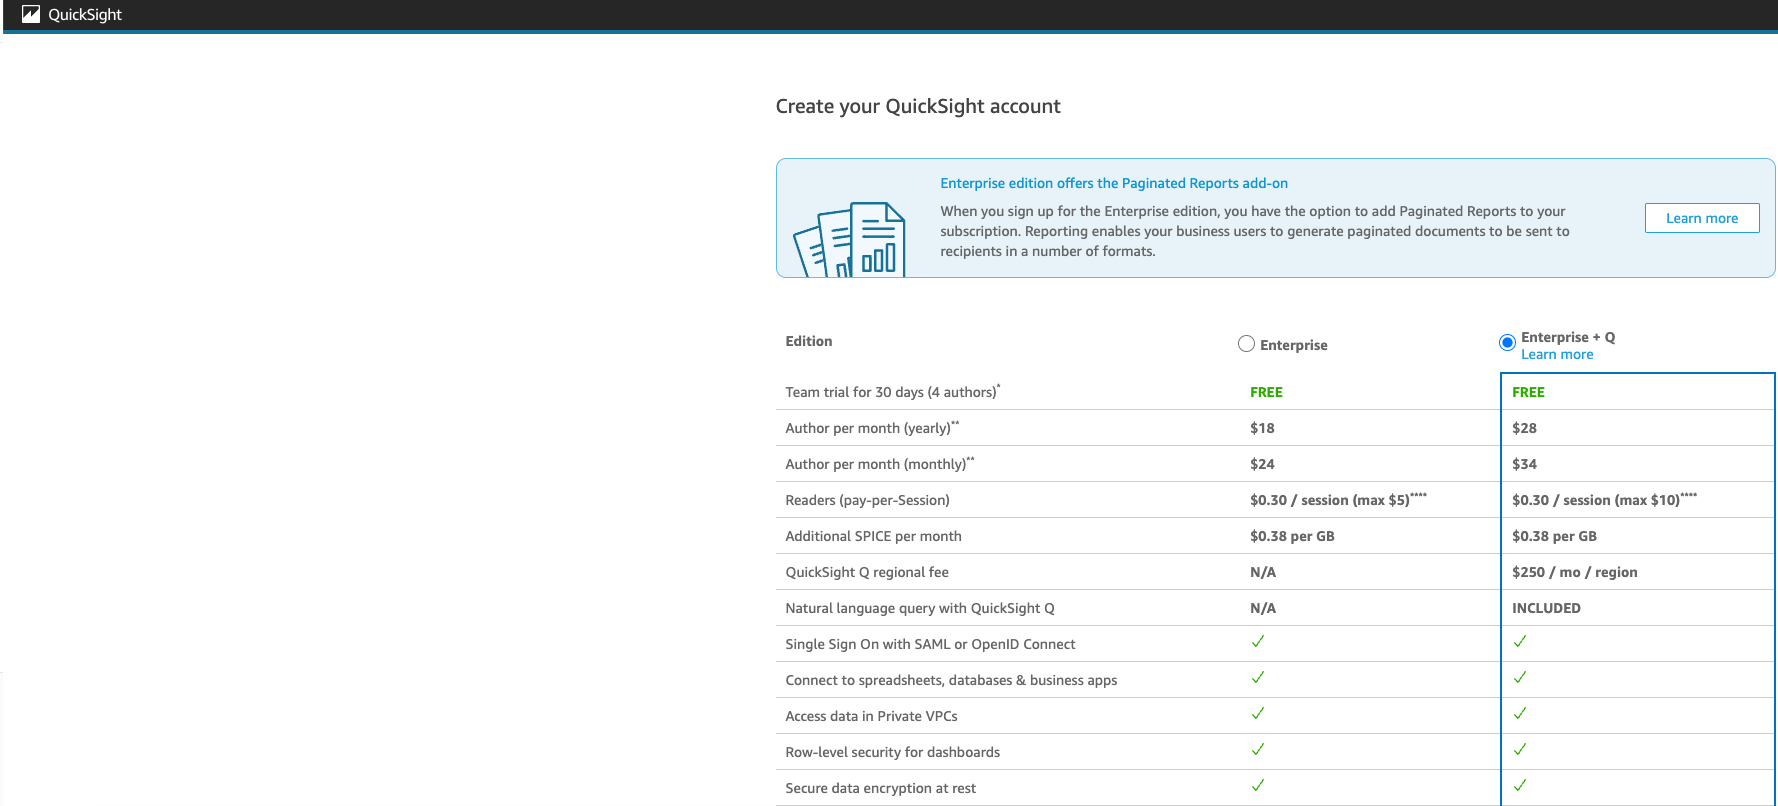
On the next screen, you may select either option.
On the next screen, you will enter your contact information. Note this information for later as you will need it when you setup Quicksight in ConnectPath:

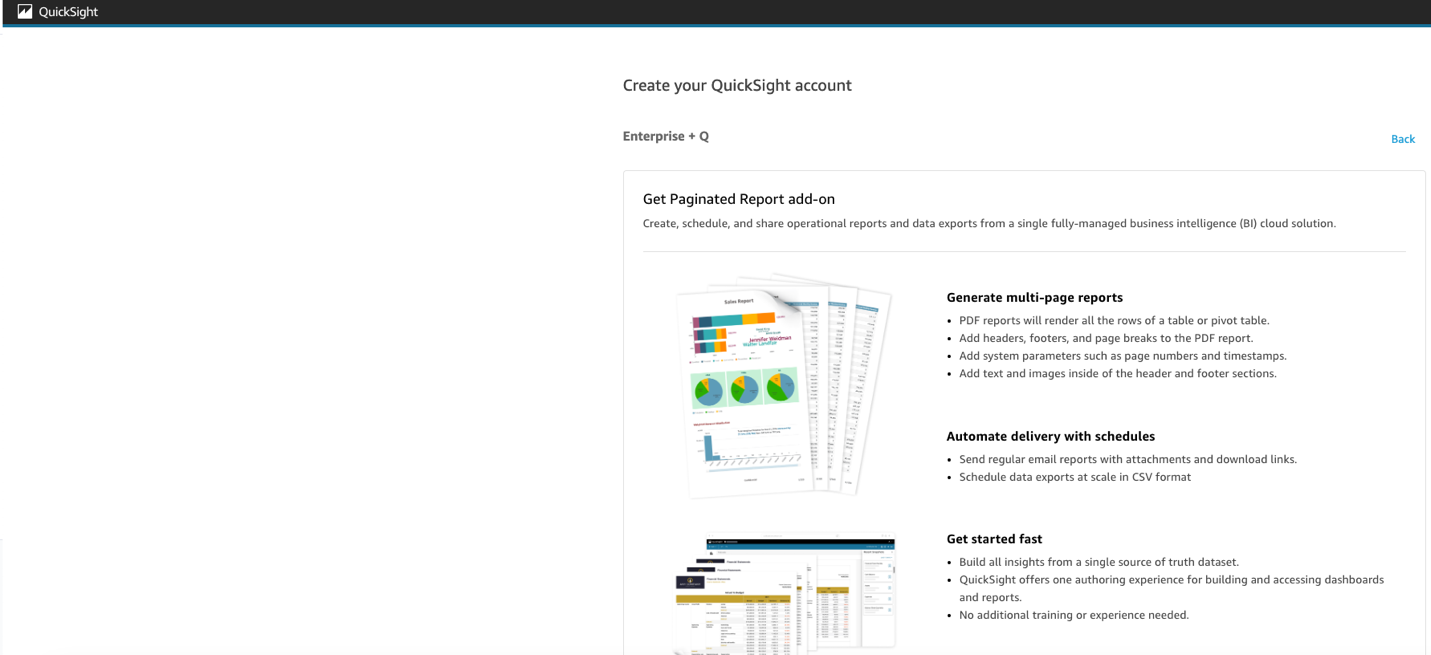
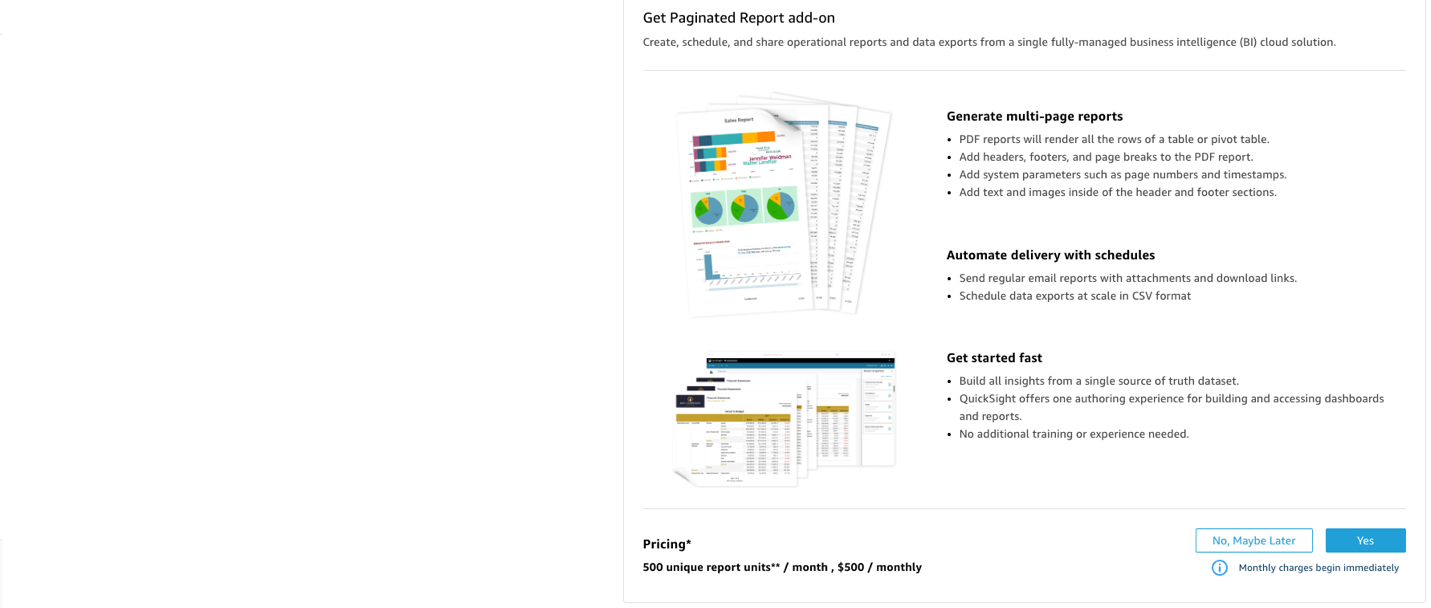
After you click Continue, you will be prompted to sign up for an unnecessary add on, for which you may click No, Maybe later:
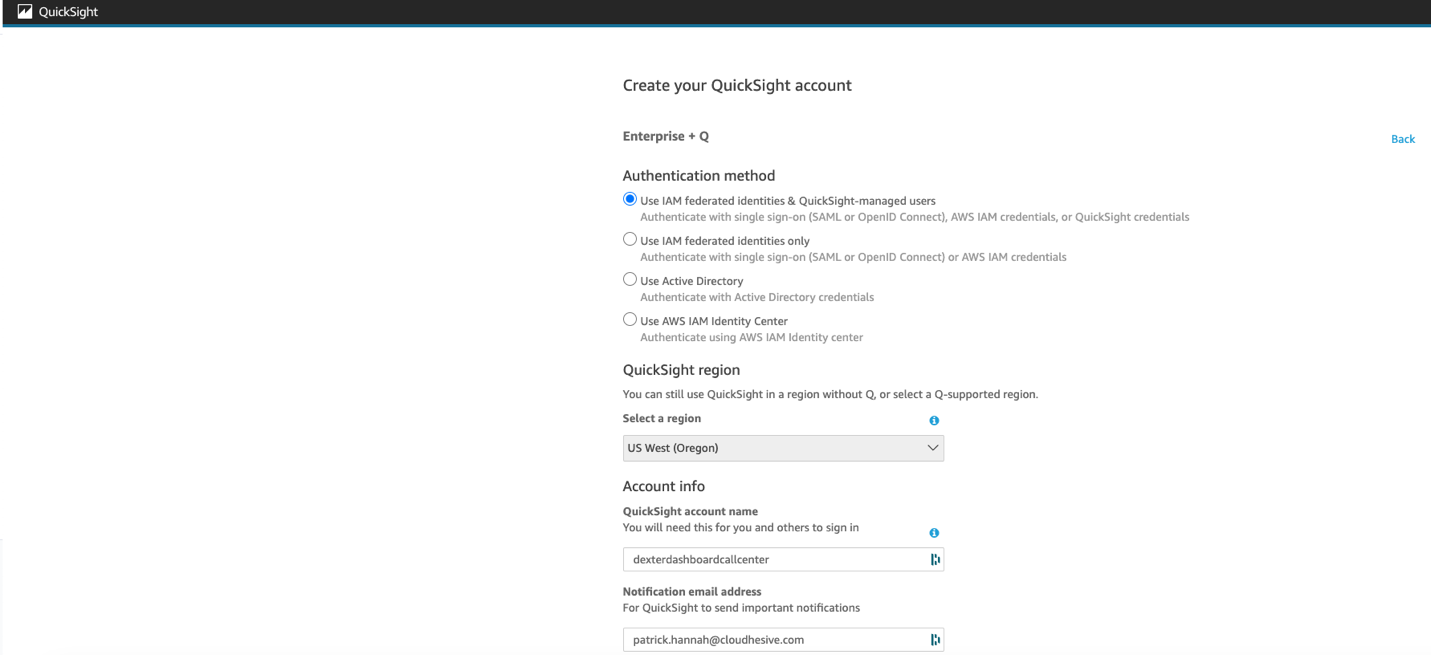
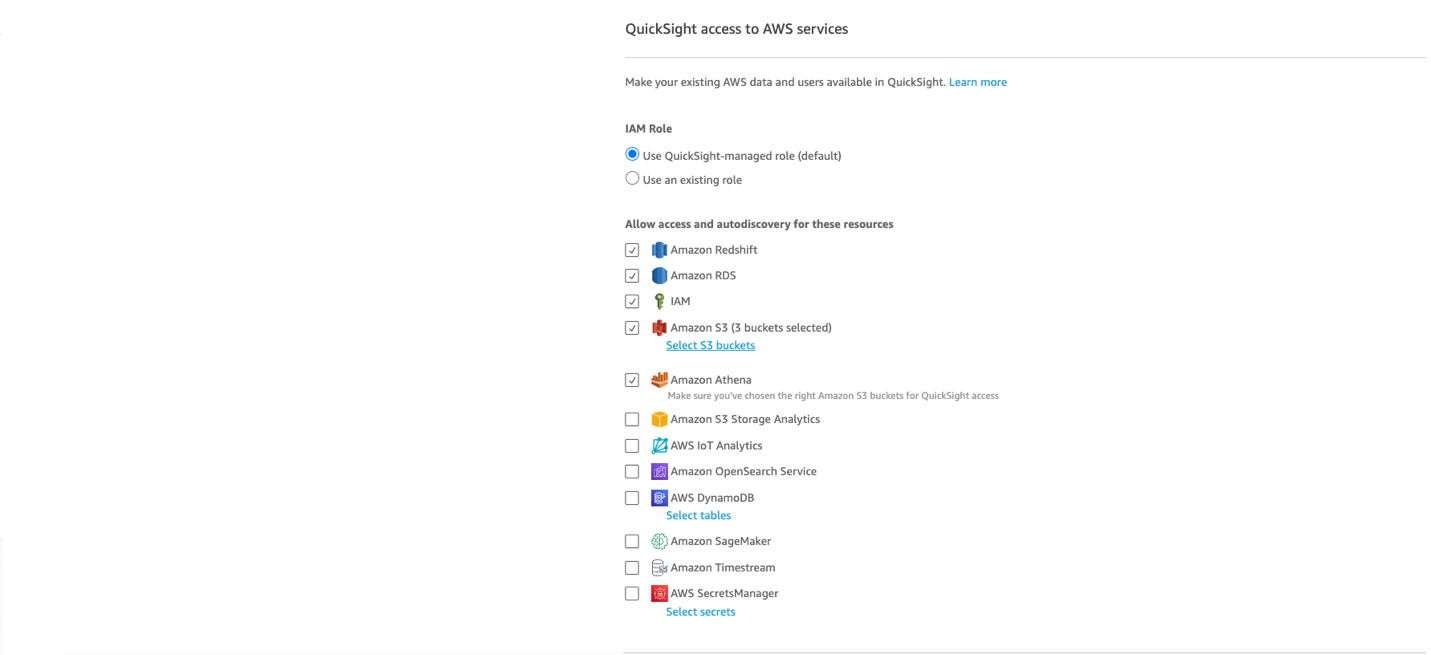
Finally, on the last screen, you will select the region (which should be the same region as your Amazon Connect instance), a unique name for the QuickSight account (which you will need to note for later), a notification E-Mail Address, and finally, what data QuickSight should have access to. On that last part, click Select S3 buckets:
From the bucket list, select the ones with datalake in the name by checking the boxes to the left and the right:
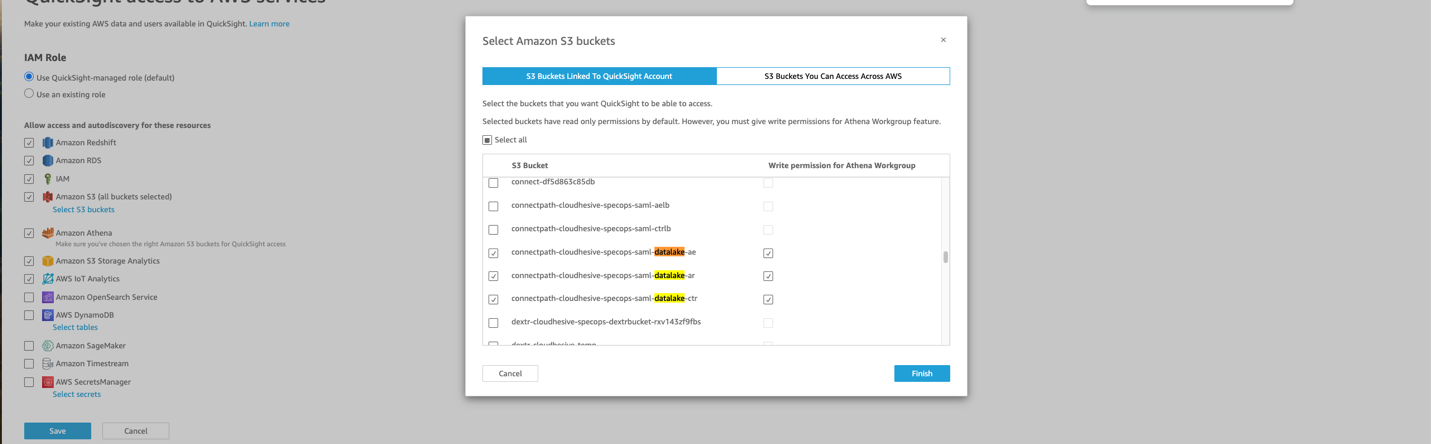
Click Finish and Click Finish again. This completes the setup of QuickSight, and you may now go back to ConnectPath.
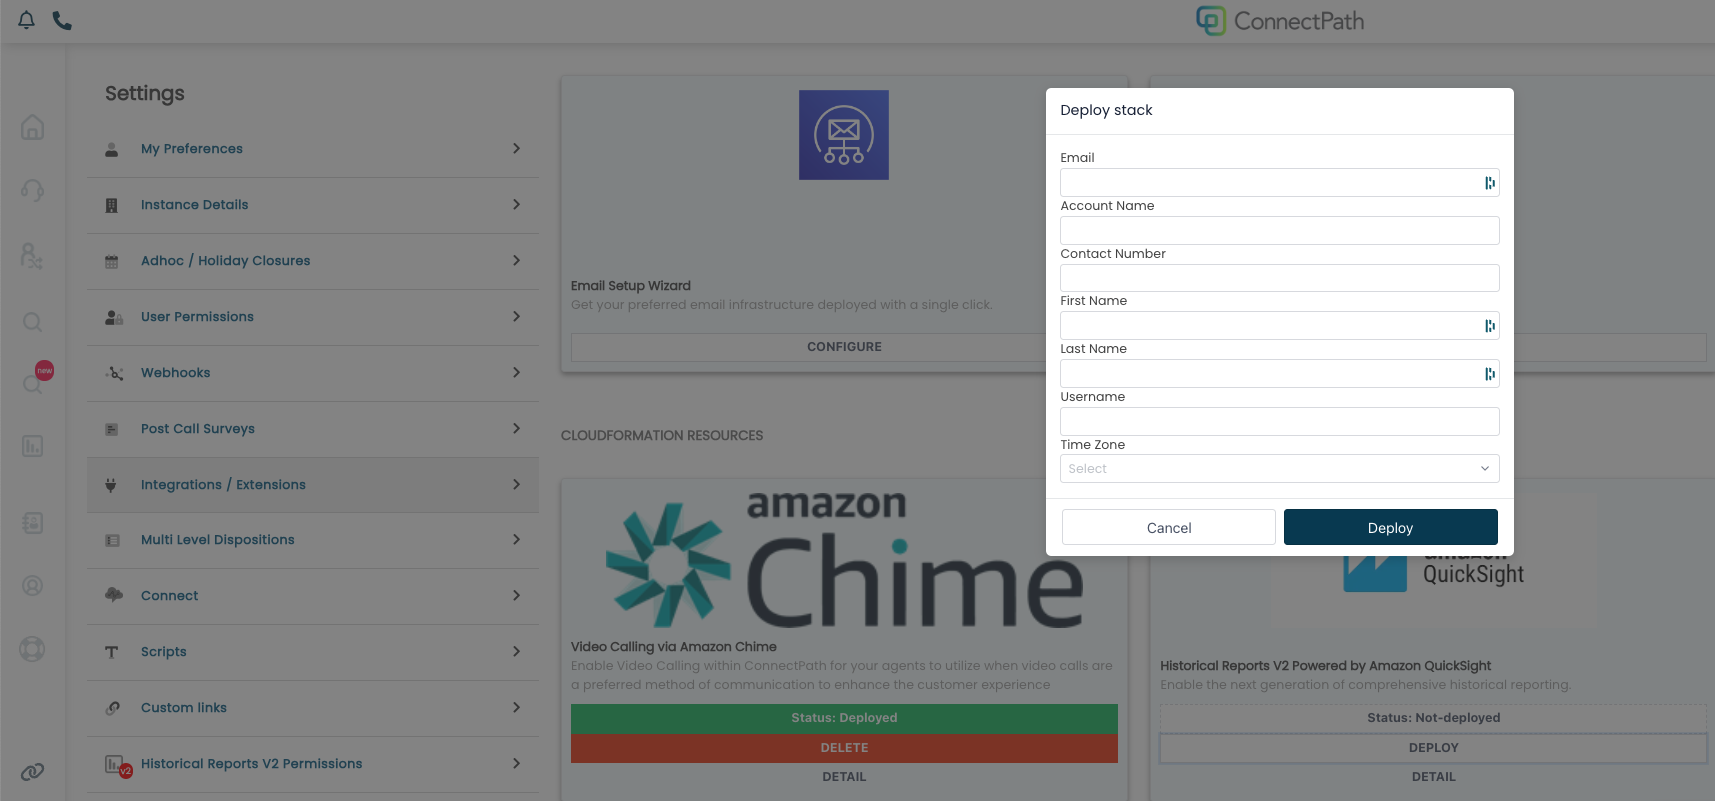
Go to Settings > Integrations, and under the Historical Reports V2 Powered by Amazon QuickSight Card click Deploy.
Enter the details previously provided during the QuickSight setup in this box – note that the E-Mail and Username can be the same but must be unique. The Time Zone should reflect the Time Zone that your primary report user will be based in. Once done click Deploy.
Deployment will complete within Approximately 10 minutes and once done the Status will show Deployed, much like the Datalake Powered by Amazon Athena Integration:
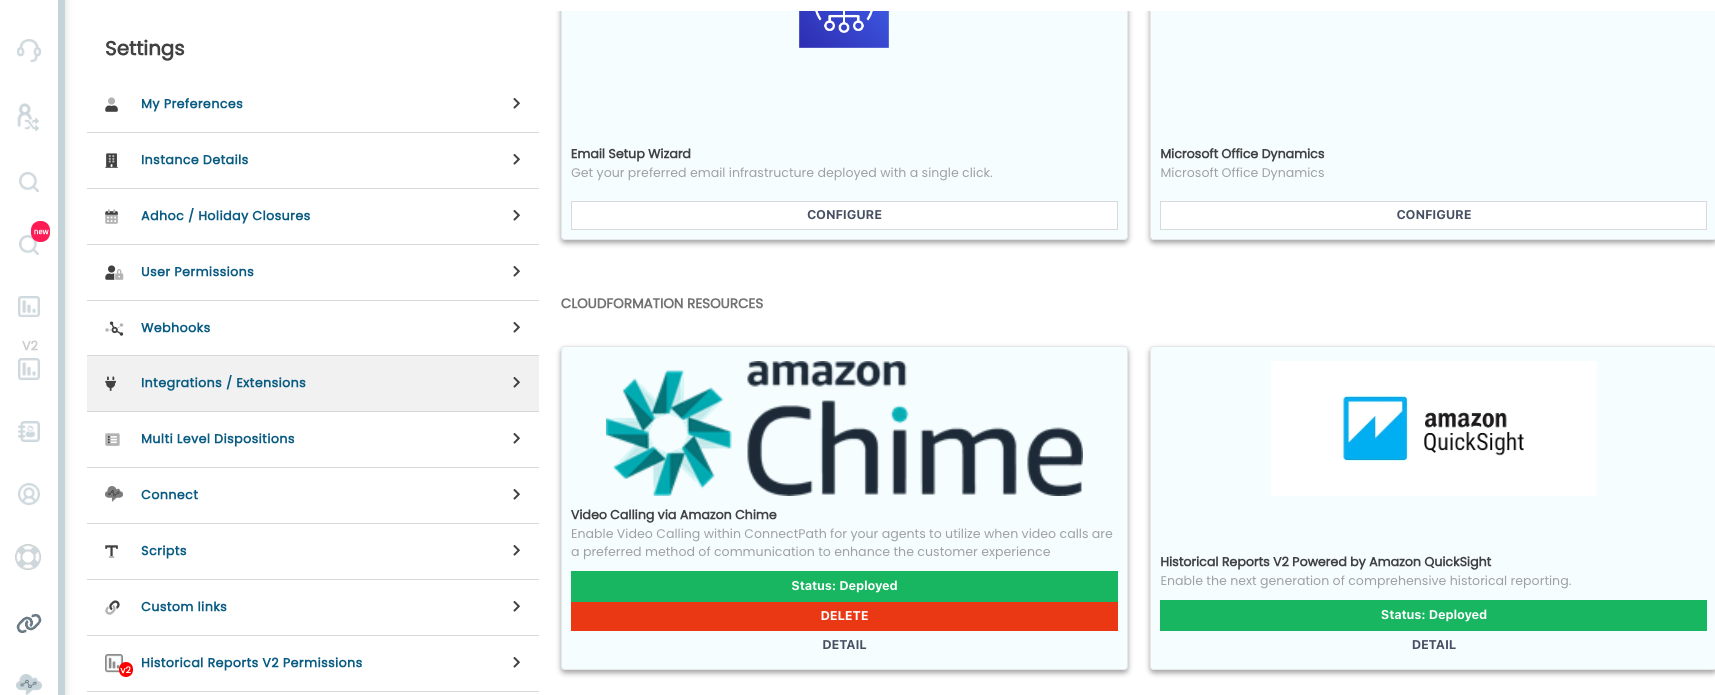
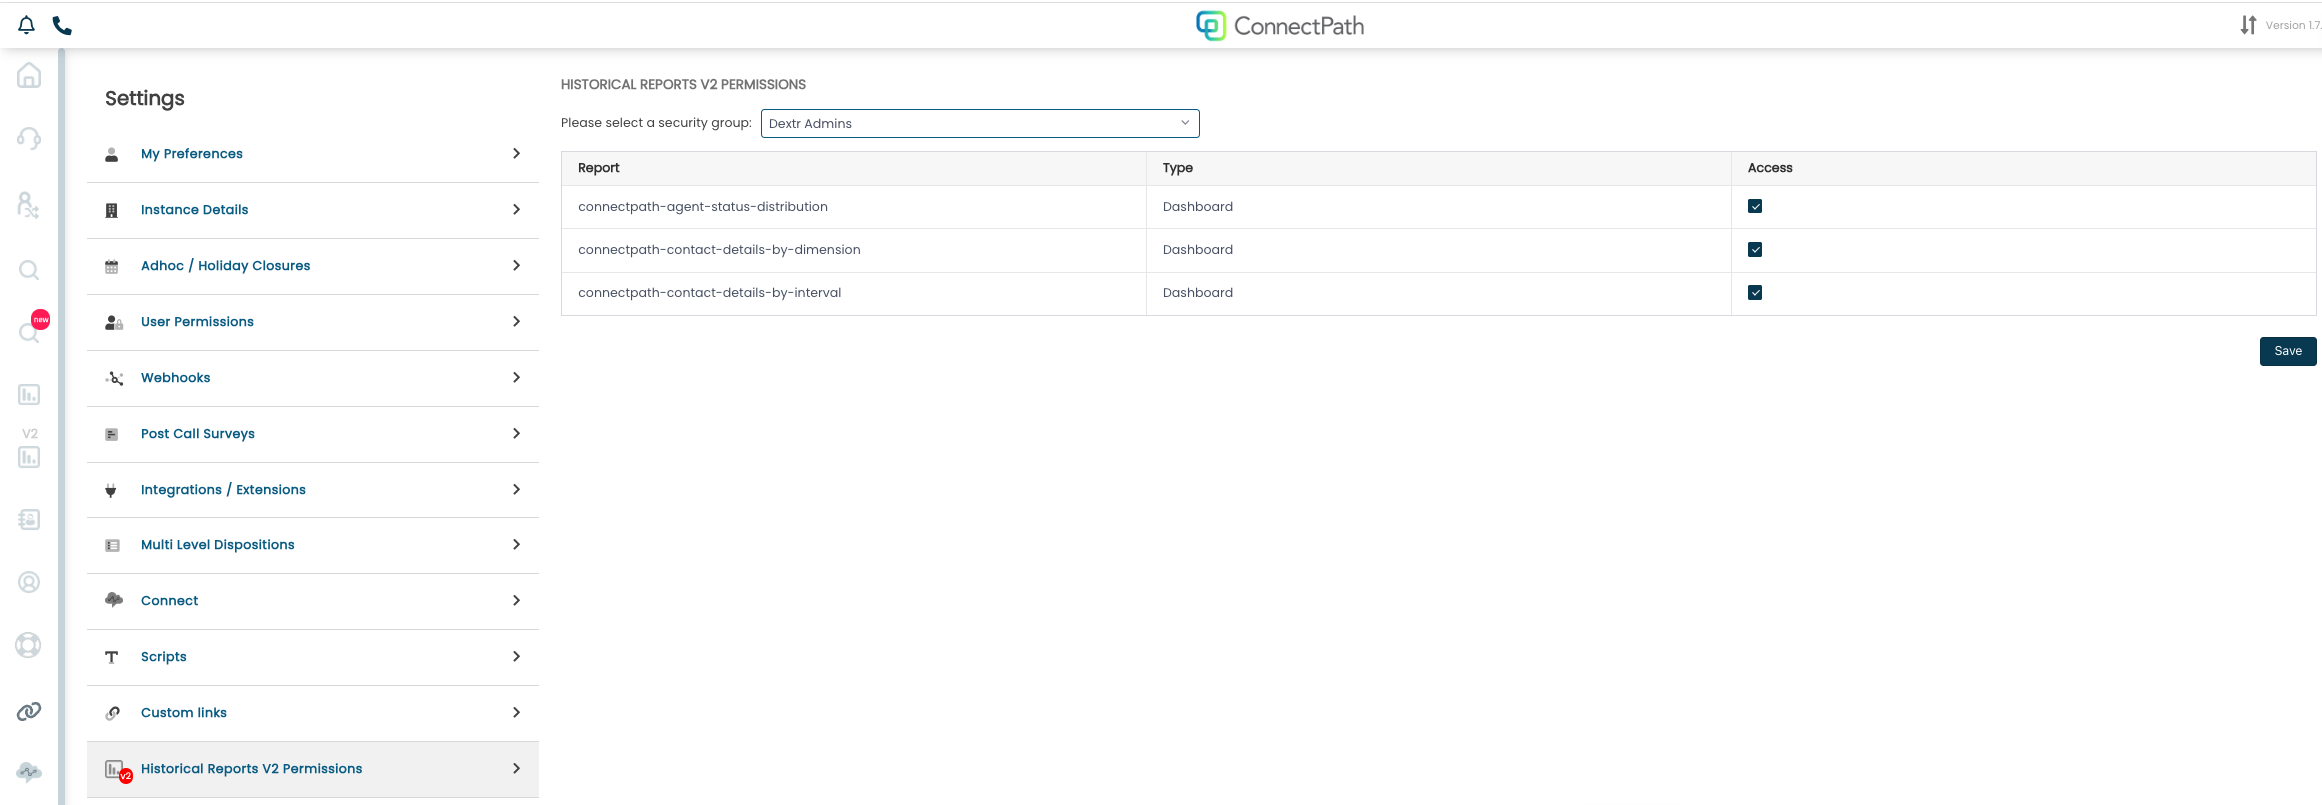
Now you may map your ConnectPath Permission Groups to specific QuickSight reports by going to Historical Reports V2 Permissions:
This completes the initial setup of the Feature.
Feature Usage
Usage of the feature is relatively straightforward, there is a “V2” icon on the left hand side of the ConnectPath screen which will show you all of the QuickSight reports that you have access to:
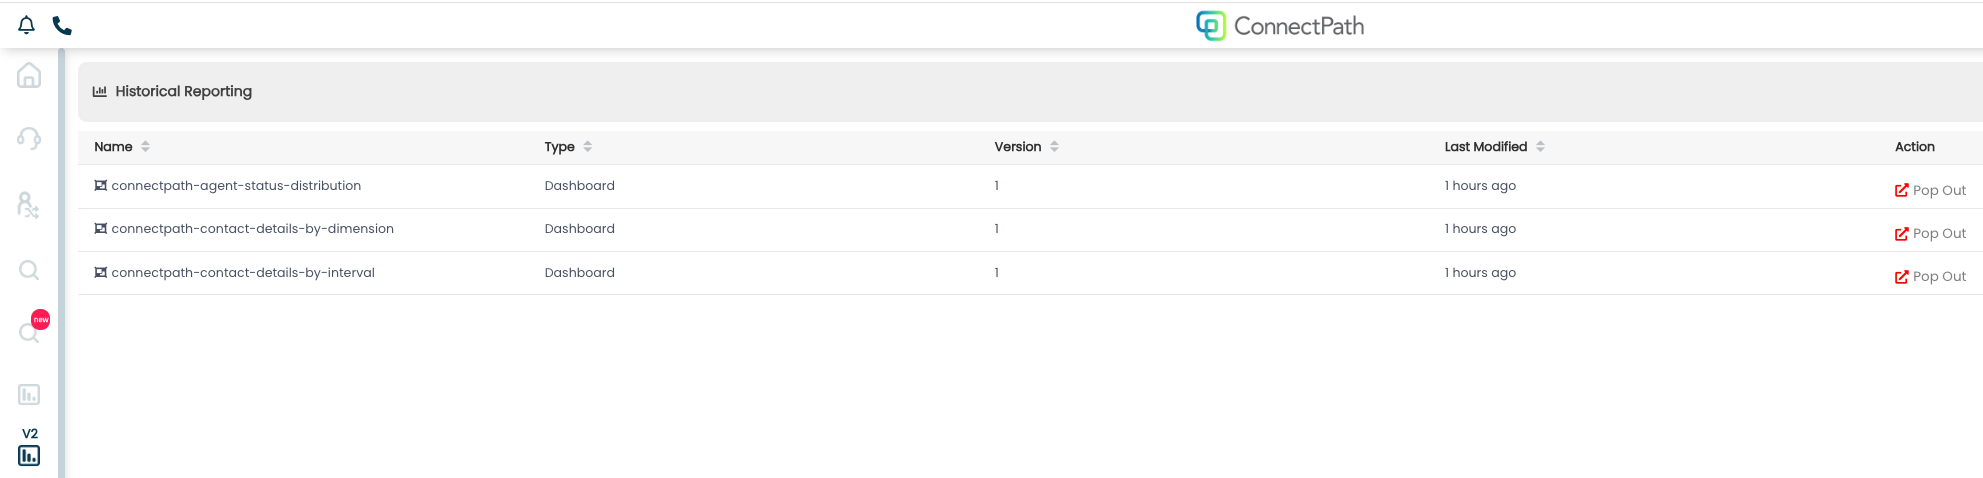
You may either click the row, and it will open the report within ConnectPath, or you may click Pop Out under the Action Column and it will open the report in a new window, Separate from ConnectPath.
An example of a report can be found below:
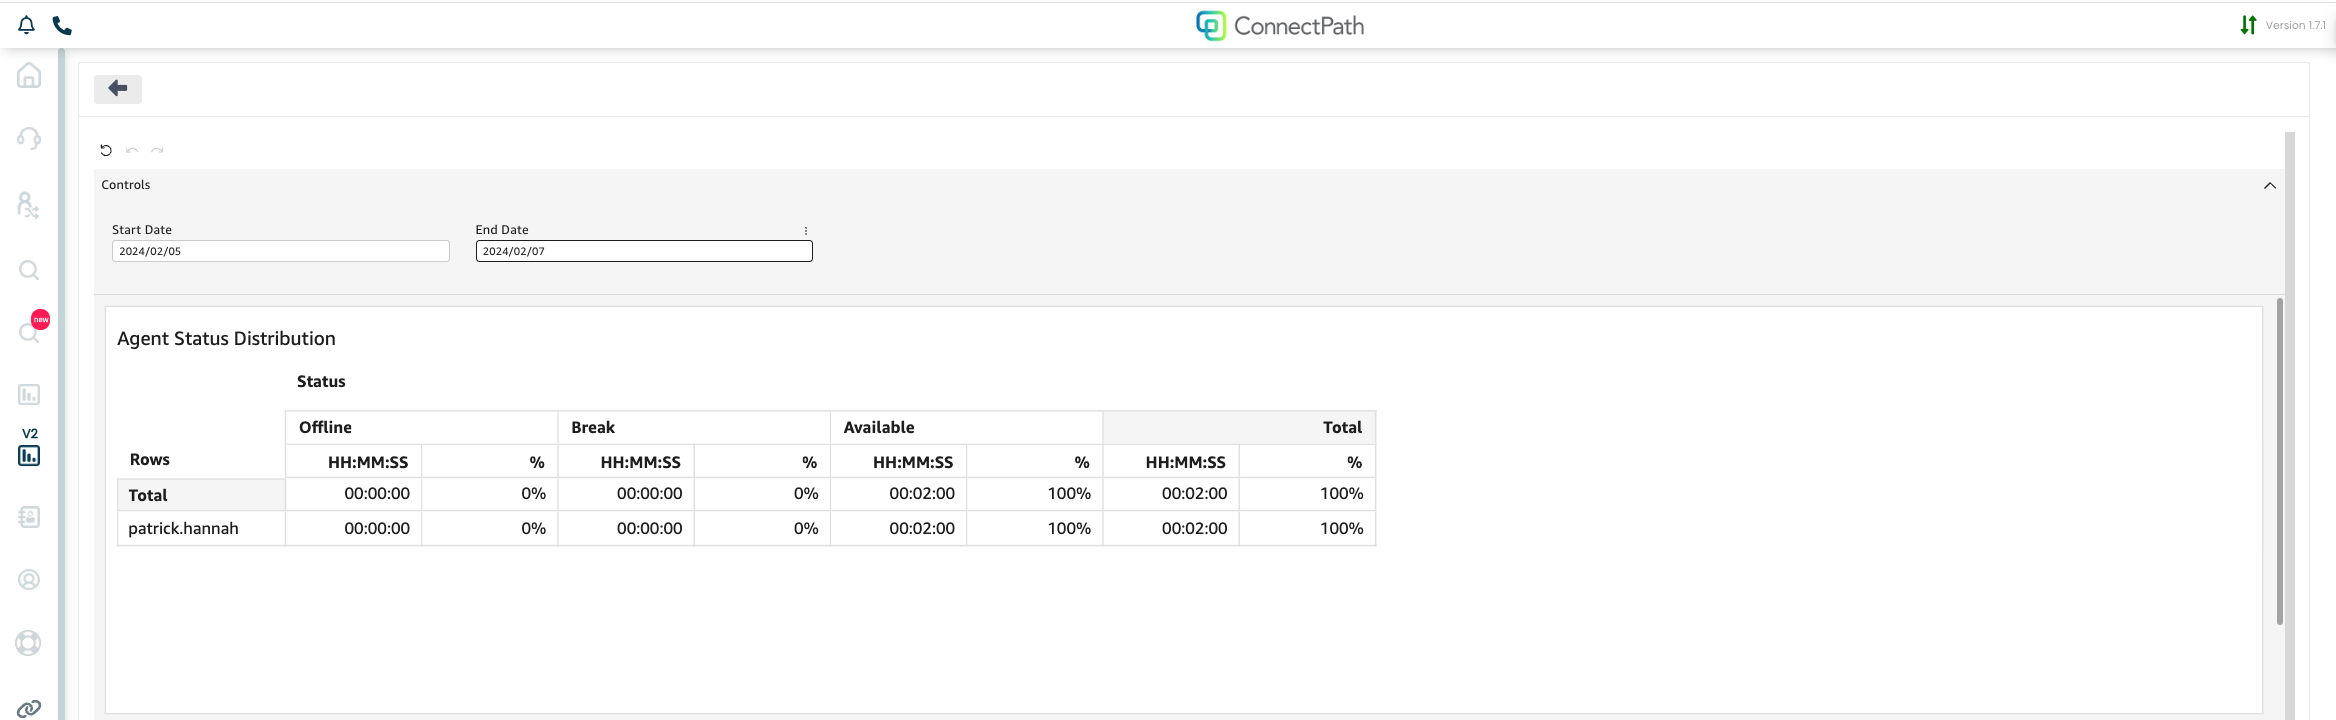
Reporting controls can be found at the top and allow for you to make changes to the inputs of the query, such as specifying a date range in this place. Note that dates are not inclusive, so if you are attempting to run a report for the current day, you will need to set the start and end dates to the prior and next day, as an example.
Dashboards do not automatically refresh but can be refreshed by clicking the back button and clicking back into the Dashboard. Dashboards will also use your instance timezone when it comes to calculating any applicable timezone offsets.
Finally, existing Dashboards can be copied, or new Dashboards created and made available to ConnectPath from within the native QuickSight interface, if the naming convention of the Dashboard begins with connectpath.
This concludes the setup and usage of the Historical Reports V2 feature.