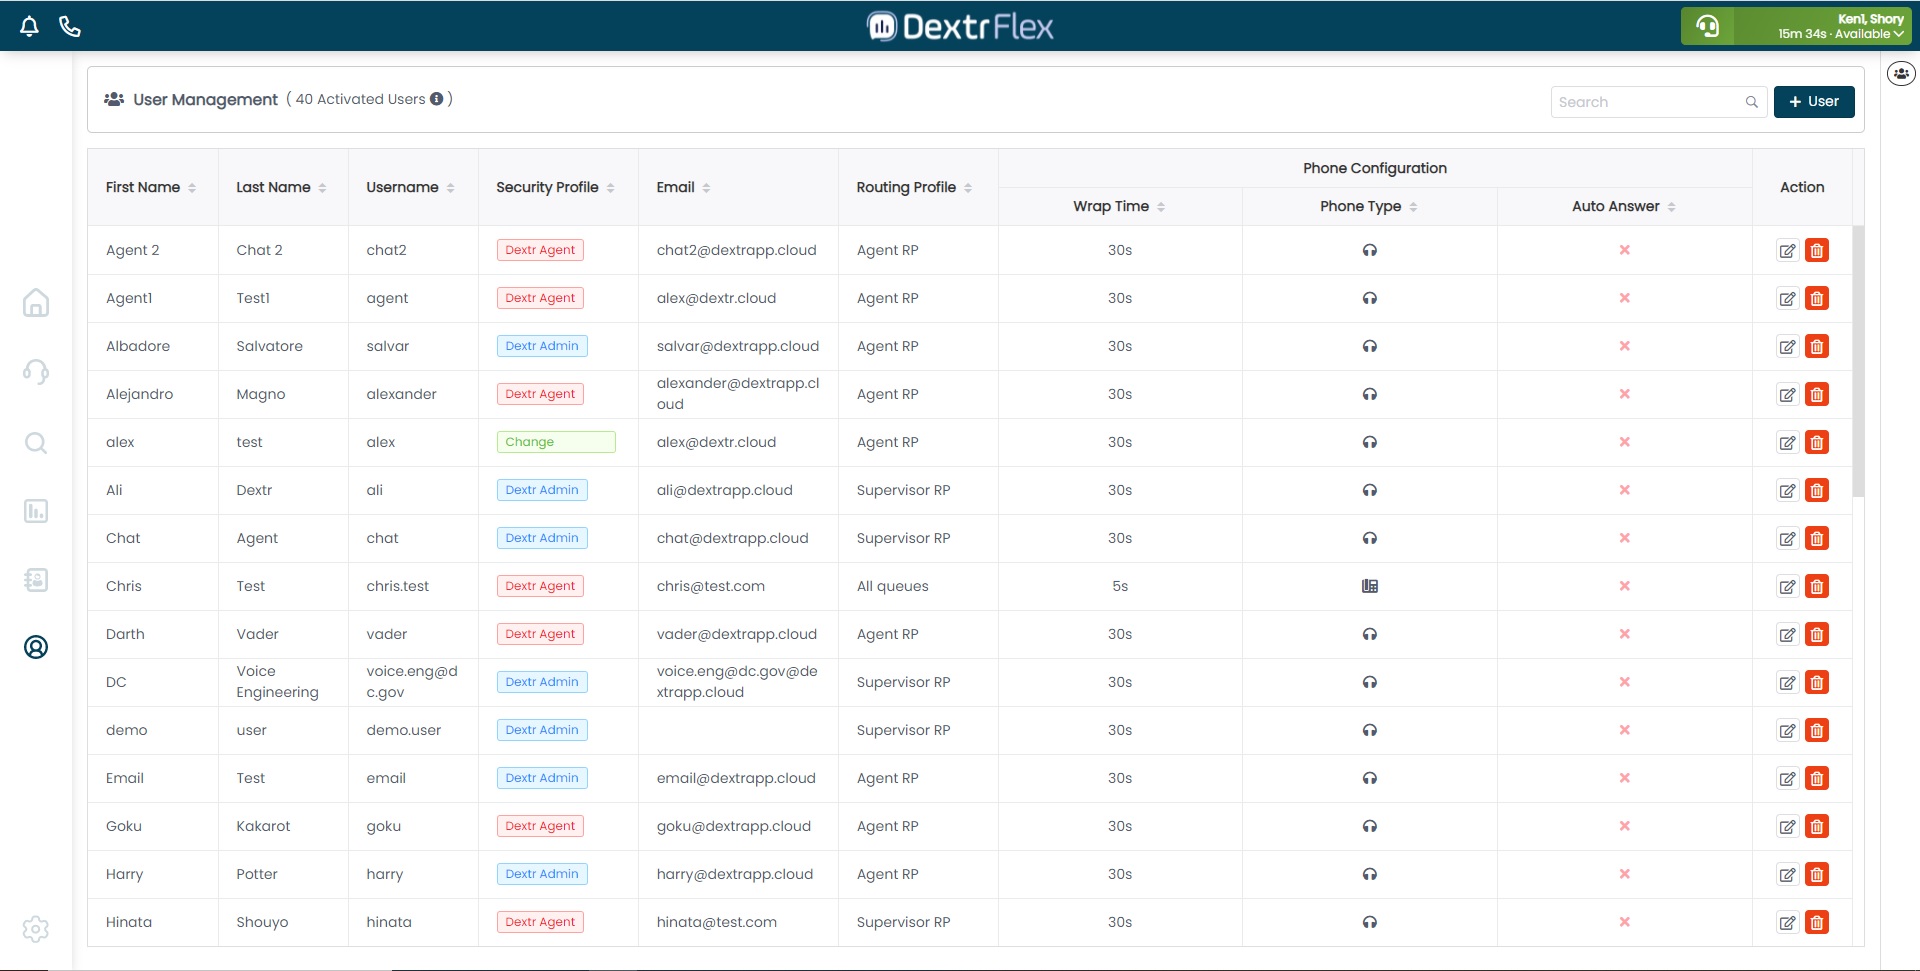
Users
This TAB will only appear when you have an Administrator security profile. You can create, modify and delete users as well as setting up the options for that user.
Section 1 - Users creation
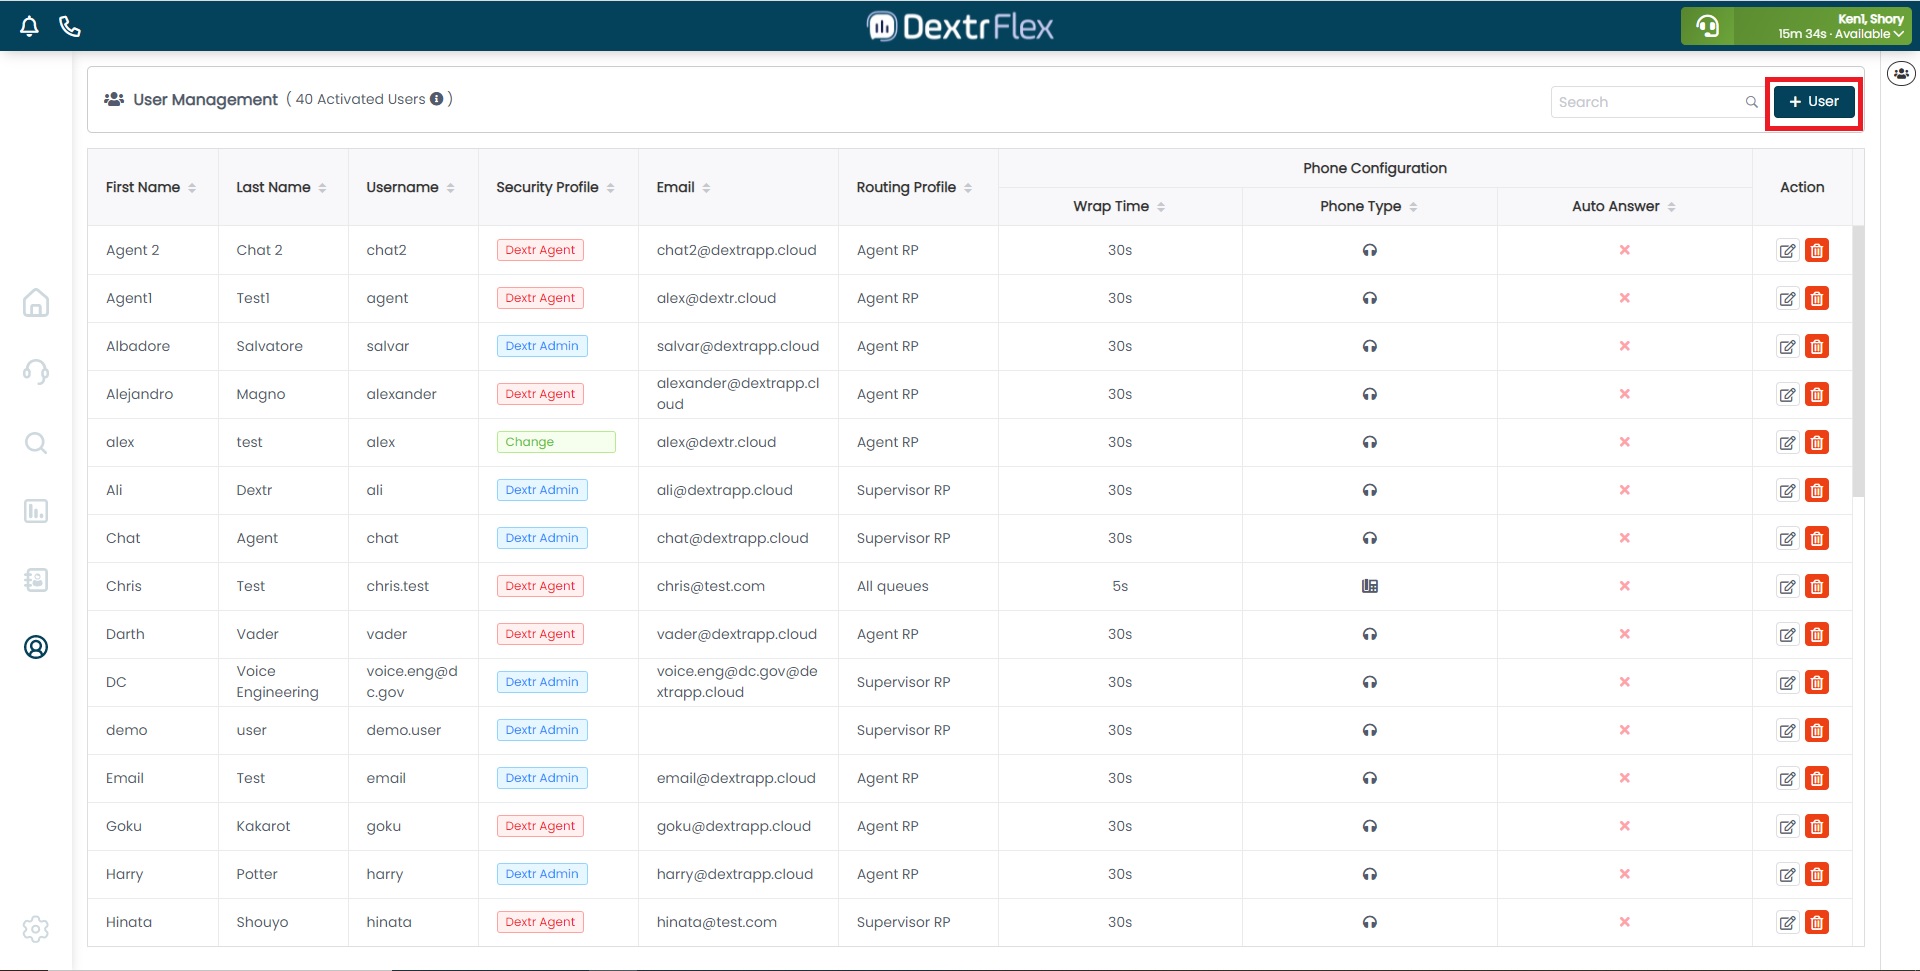
By clicking the +Users button you will start the user creation process.
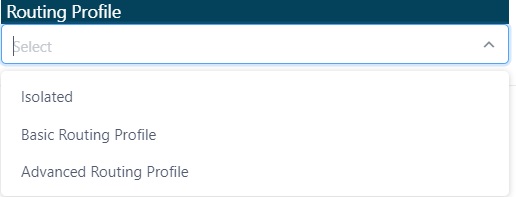
1.1 - Name fields & Routing Profile
Fill the fields (Name, Email and Password), then assign a Routing profile. A Routing Profile links queues to agents and each agent is assigned to one routing profile.
For more information on creating routing profiles from Amazon Connect, you can check Amazon Connect documentation.
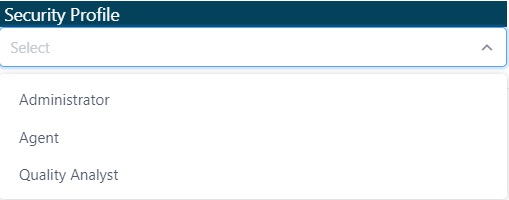
1.2 - Security Profile
Security Profiles will grant agents a level of permission to either view, update and create resources or specific tasks.
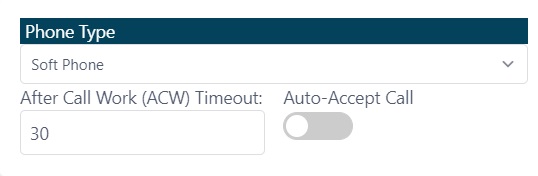
1.3 - Phone Type
You can set the user phone as either Softphone/Desktop, and enable the Auto-Accept call option (by default this is set to OFF).
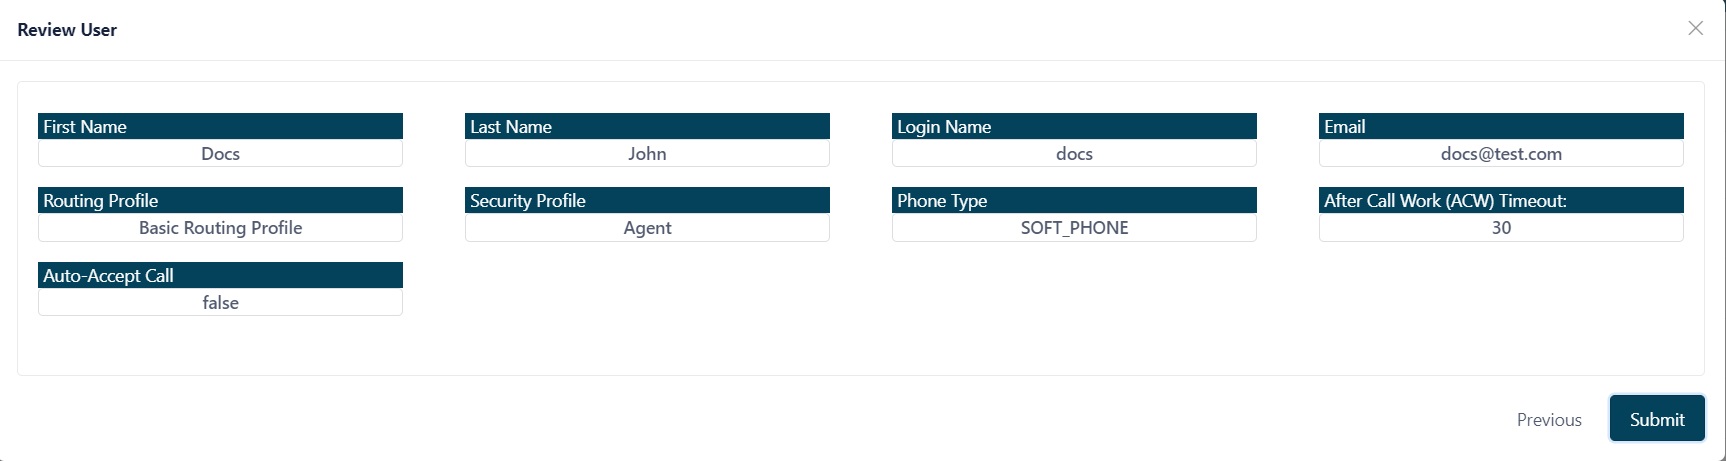
1.4 - Summary & Submit
The Summary with all the data will show up as the next step. When clicking the Submit button, the user will appear as an Activated User.
Section 2 - Editing users
By clicking the pencil icon in the Action column, you can edit all the agent fields with the exception of Phone type (this is changed in Settings). Once finished, you can click the check button to save your changes, or you can also press the “x” button to undo them.
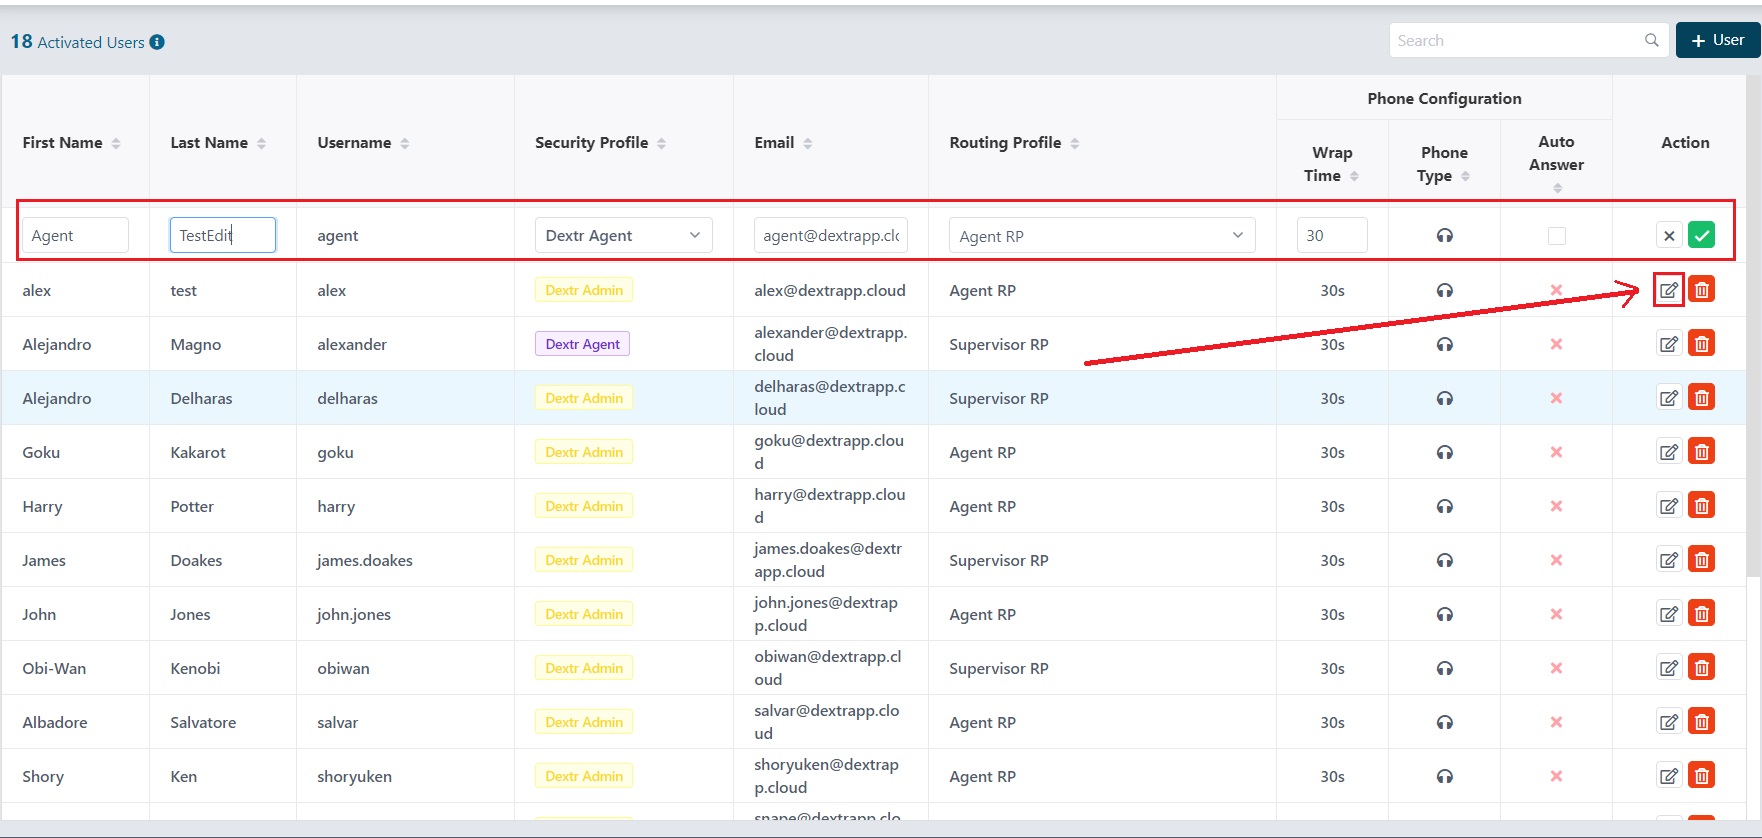
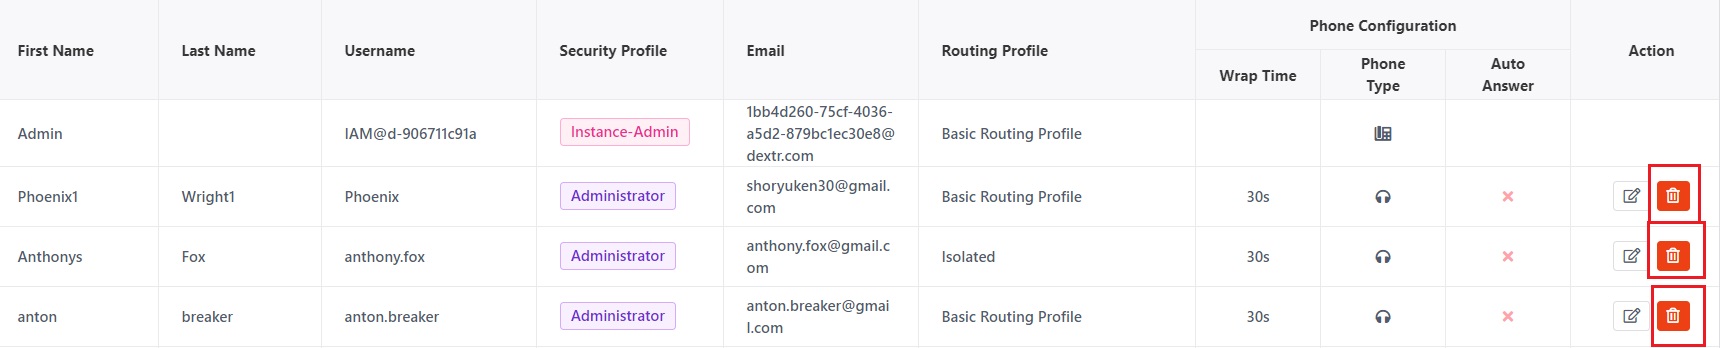
Section 3 - Deleting users
This is done by clicking the trashcan icon right beside the edit button. If you delete an user, they’ll be forced to log out of ConnectPath.